Concrete Restoration: Assessment, Repair Options and Quality Checks
Plan concrete restoration from damage mapping and repair selection to surface preparation, placement, curing and handover. Includes inspection and estimate checklists.
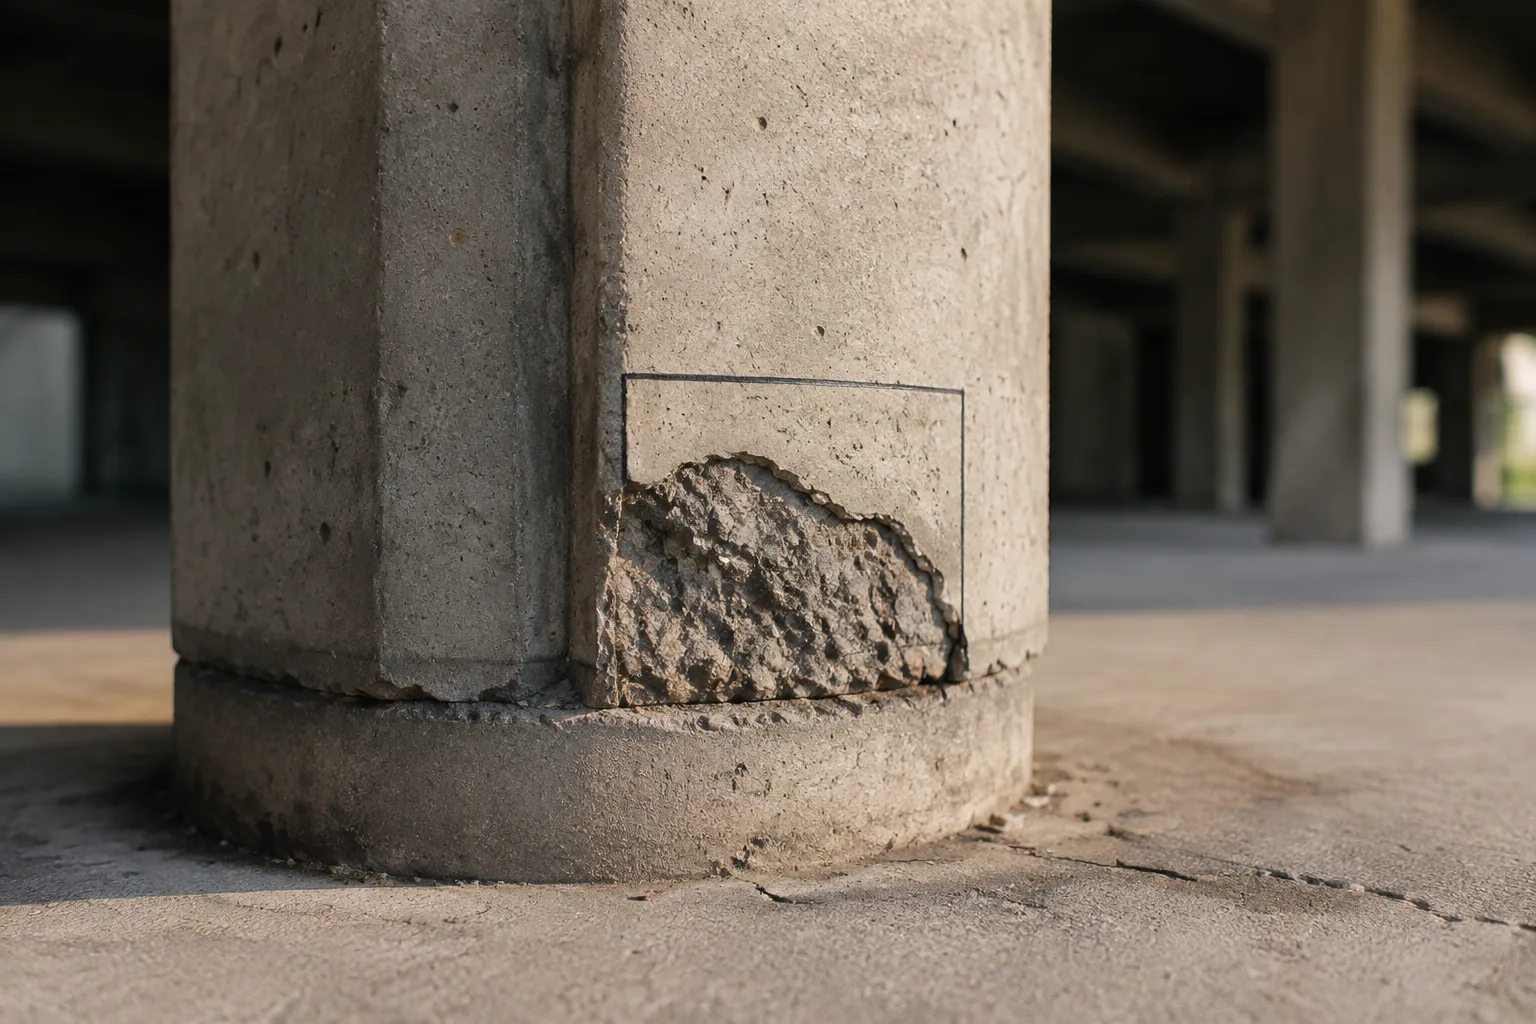
Concrete restoration combines assessment, repair design, surface preparation, material placement and verification. The objective may be to restore a damaged section, address water entry, protect a surface or improve a structure’s performance. Those objectives require different evidence and should not be bundled into a generic promise to “make the concrete new again.”
For an owner, the first useful question is why the damage occurred and what the proposed repair is intended to accomplish. A smooth patch can conceal an unresolved cause. Use the assessment to define the repair scope and compare proposals. Structural assessment and repair design belong to the responsible qualified professional.
Quick answer: where should concrete restoration start?
Start with a located condition survey and an appropriate assessment of the cause, extent and significance of the damage. Define the repair objective before choosing a product. Then specify how preparation, placement, curing and acceptance will be controlled.
Where there is falling material, apparent instability or another immediate danger, keep people away and obtain emergency or qualified professional assistance as appropriate. Do not begin chipping, drilling or exploratory removal on a potentially unsafe member to “see how bad it is.”
Separate symptoms from conclusions
Cracks, missing concrete, staining and exposed reinforcement are observations. They are not interchangeable diagnoses. Use the survey to establish where each condition occurs and what further information the assessor needs.
| Observation | Question for the assessment team | What not to assume |
|---|---|---|
| Visible cracking | What caused it, and is movement continuing? | Every crack can be treated with the same filler |
| Spalling or missing material | What is the extent and effect on the member? | The visible edge defines the entire repair boundary |
| Exposed reinforcement | What condition and repair requirements apply? | Cleaning visible rust establishes adequate capacity |
| Water staining or leakage | Where is the water pathway and what repair addresses it? | A surface coating alone resolves the source |
| Repeated failure beside an old patch | Why did the earlier repair not perform as intended? | Repeating the same patch with a stronger mortar is enough |
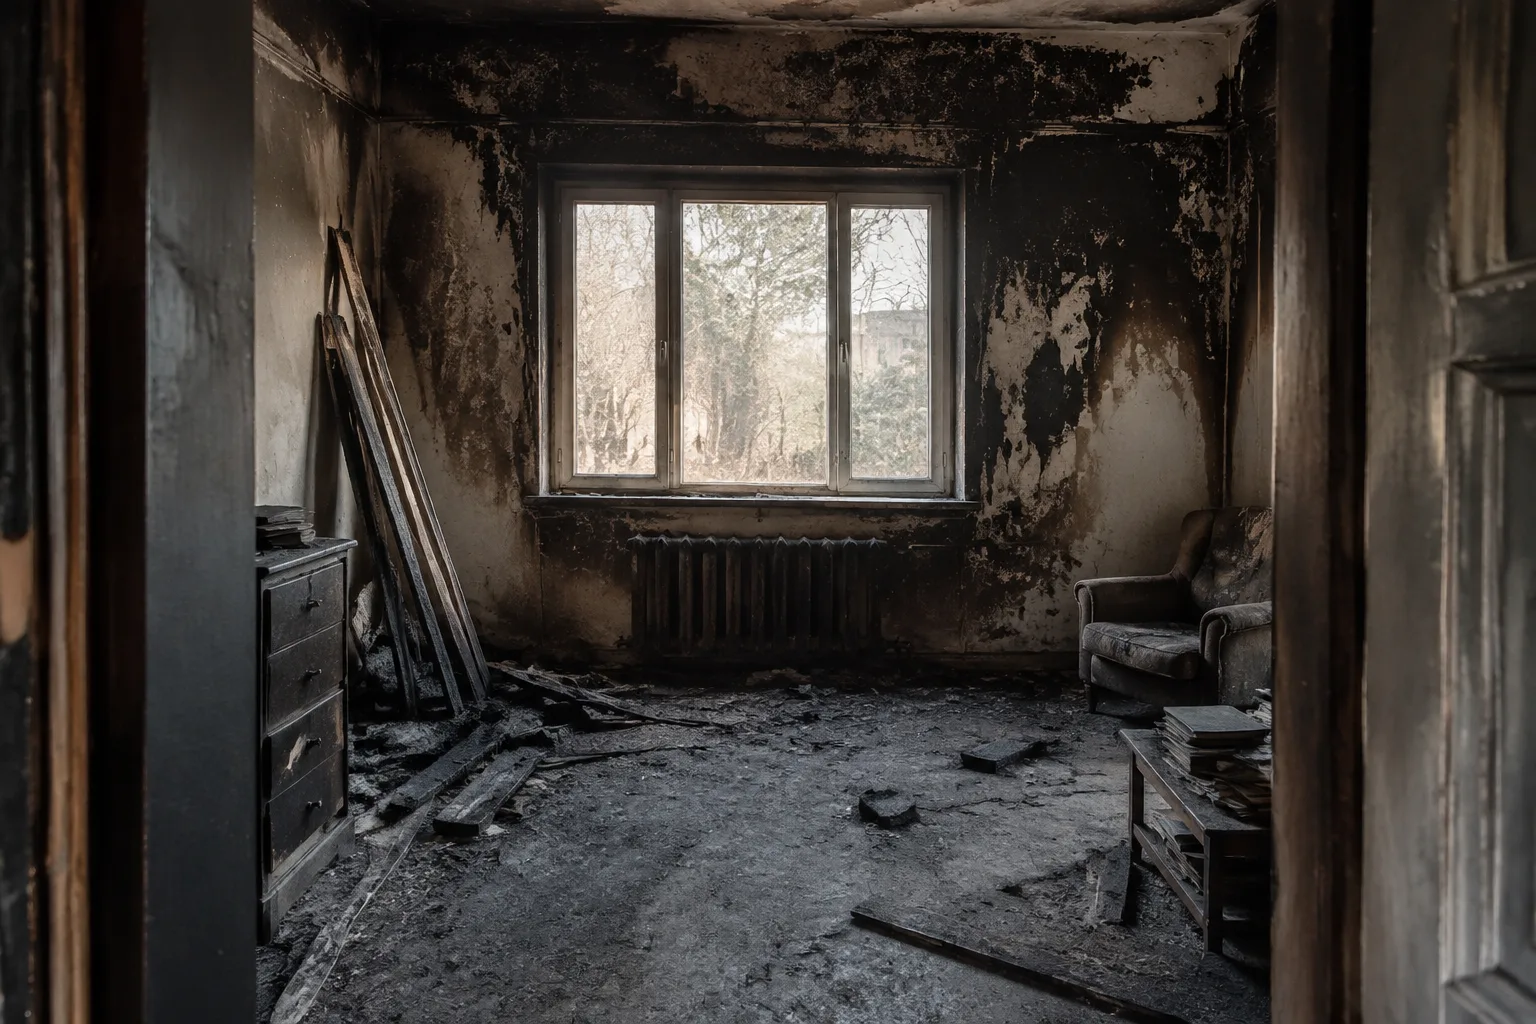
| Fire-affected concrete | What heat-related assessment is required? | Removing soot demonstrates structural suitability |
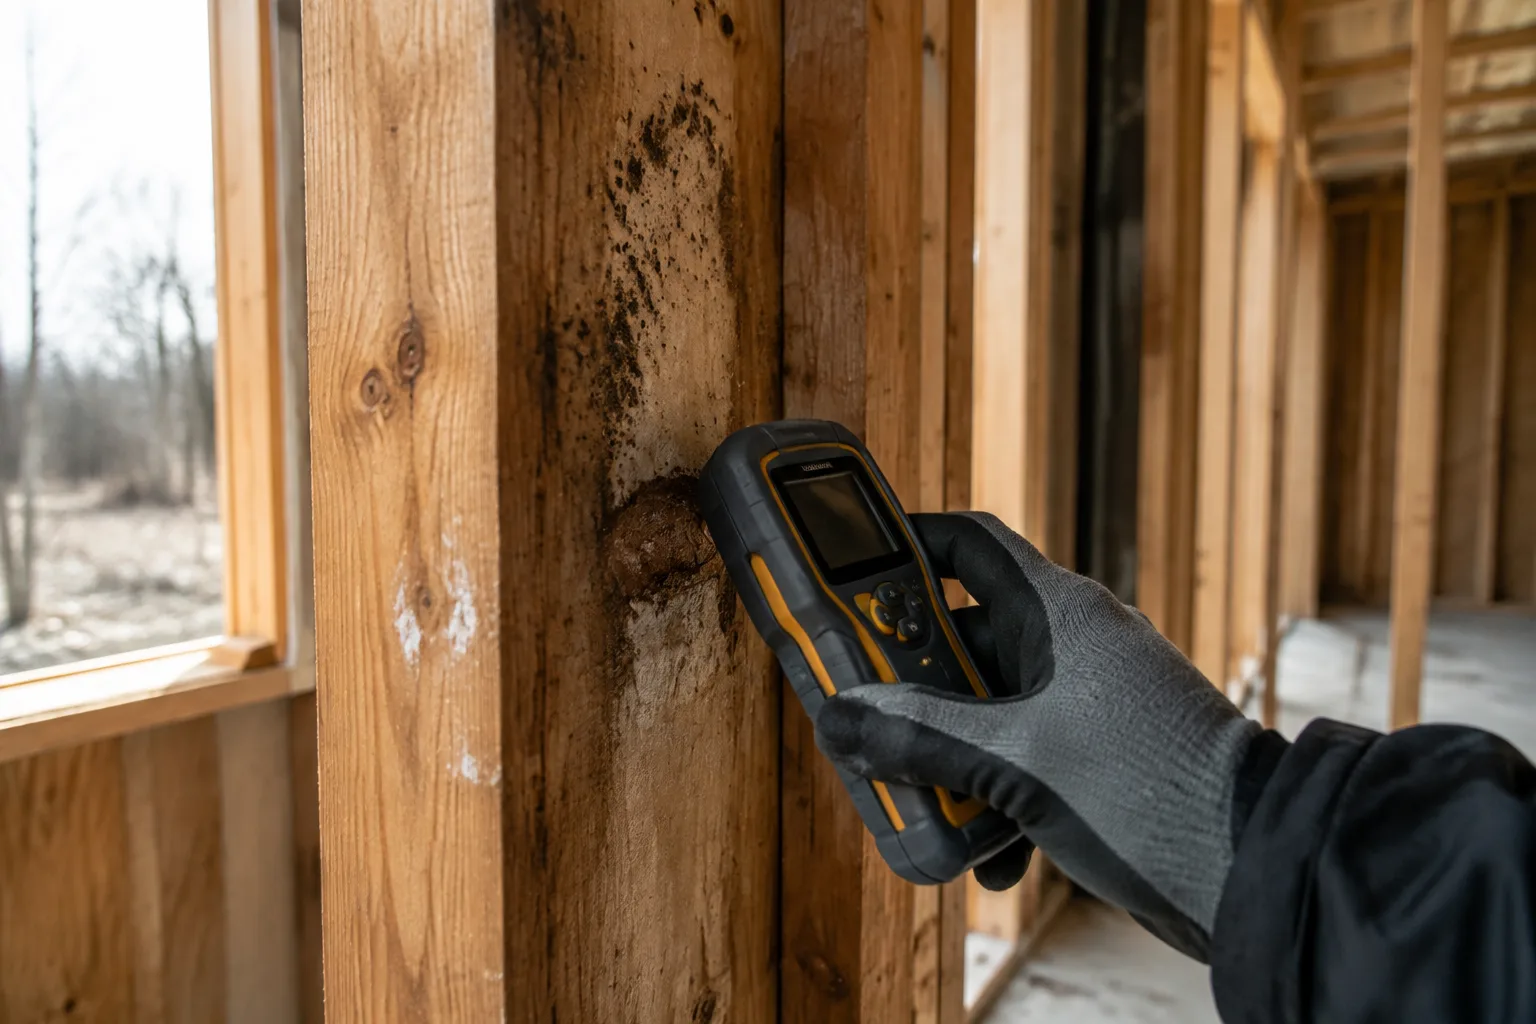
The responsible professional should decide which inspections, measurements or tests are necessary.
The U.S. Bureau of Reclamation’s concrete-repair guide overview introduces a systematic repair methodology. Apply the repair methodology with the assessment and design for the particular structure.
Build a condition map that can become a work record
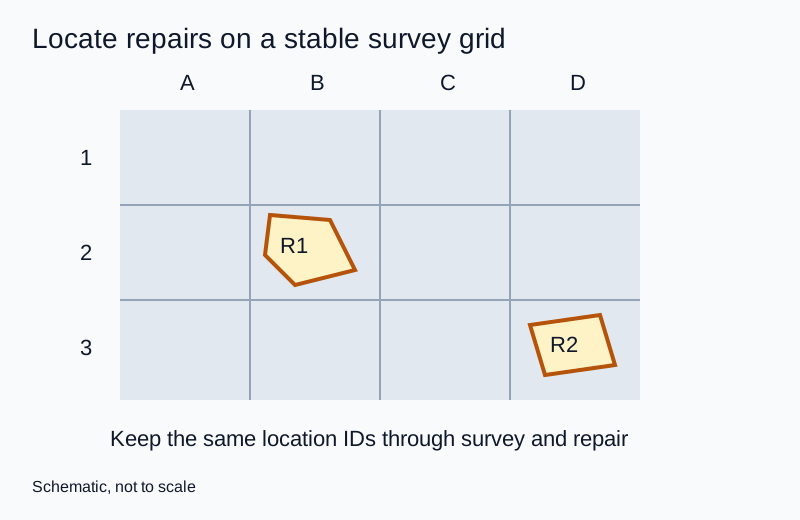
Give each area a stable identifier tied to a plan, elevation or grid. Record accessible dimensions, visible conditions, photographs, access restrictions and the date. Keep estimated quantities distinct from quantities confirmed after approved removal.
A good map can support several people without forcing them to reinterpret the site: the engineer can locate an assessment finding, the estimator can identify an allowance, and the inspector can trace a completed repair. Keep the same identifiers throughout the work.
Mark inaccessible areas explicitly. “Not inspected” is not the same as “sound.” If the survey is limited to accessible faces, explain how the remaining uncertainty affects the scope and when it will be resolved.
Decide who is responsible for structural questions
The ACI 562 repair-code portal describes coverage including evaluation, structural repair design, durability and construction. The applicable edition and its legal role depend on the jurisdiction and project.
Ask the appointed design professional to identify the governing requirements and needed approvals. Do not confuse a contractor’s product recommendation with a structural repair design or a general code summary with proof of compliance.
Match the repair approach to the objective
Use the comparison to frame a repair-design discussion. The responsible professional selects the method for the actual crack, member and exposure.
| Approach | Intended role to discuss | Critical question |
|---|---|---|
| Local removal and patch repair | Replace an identified damaged area | Are the cause, boundaries and retained substrate addressed? |
| Crack treatment | Meet a defined sealing or repair objective | What movement, moisture and structural requirements govern? |
| Overlay or resurfacing | Provide a new surface over an accepted substrate | Can the existing concrete support the proposed system? |
| Protective treatment or coating | Address a specified exposure or surface requirement | Is preparation and compatibility established? |
| Engineered strengthening | Change or restore structural performance | What design, anchorage and inspection are required? |
| Partial or full replacement | Address conditions unsuitable for the proposed local repair | What supports the extent, sequence and temporary works? |
A local patch needs a defined boundary
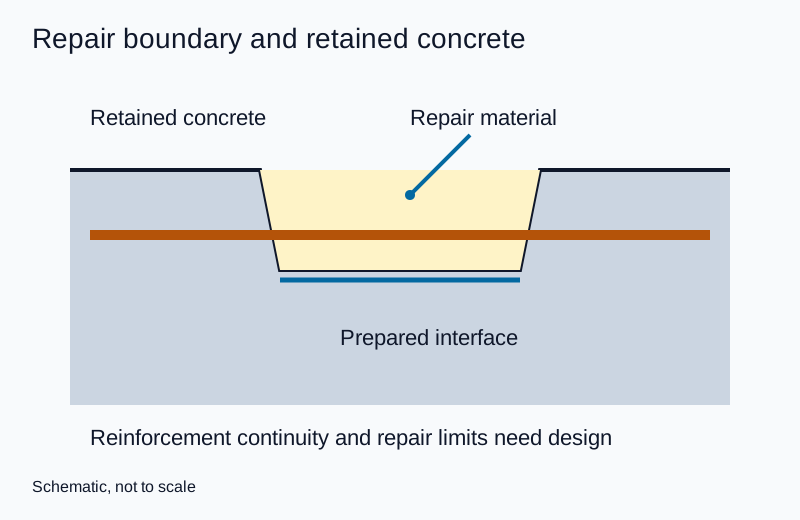
Ask how the repair boundary will be confirmed and who approves changes when removal reveals additional damage. A fixed outline on the initial estimate may be an allowance rather than a final design.
The plan should also identify what must not be damaged during removal. Embedded reinforcement, tendons, services and adjacent retained work can change the approach. Their presence and location require appropriate investigation; never use a generic cutting depth from an online guide.
Crack treatment needs a stated purpose
Ask whether the objective is water control, restoration of a structural function, a cosmetic result or another defined outcome. The answer should influence the selected material and method.
A proposal should also explain how movement and moisture conditions were considered. Avoid assigning a universal repair method from crack width alone. If the cause remains unresolved, ask how the design accounts for that uncertainty instead of treating the filled appearance as completion.
Surface protection is not structural repair
A coating or overlay can be one part of a restoration system, but the team must establish the suitability of what remains underneath. Keep substrate repairs, surface preparation and protective application as separately inspectable activities.
The building-material systems hub provides broader context for coordinating layers and interfaces. For projects following a fire, connect the concrete assessment with the fire damage restoration scope.
Select materials as a compatible system
Ask for the basis of selection, not just the highest advertised compressive strength. Relevant questions include intended use, application orientation, repair geometry, bond requirements, dimensional behavior, exposure and compatibility with adjoining materials.
The submission should identify the actual product, current instructions, any associated primer or reinforcement treatment, curing requirements and follow-on finish. Substituting one component may require review of the whole combination.
As a product-specific example, Sika’s SikaTop-123 Plus information describes a mortar for vertical and overhead repairs and provides application and curing requirements. Confirm that the selected mortar and its instructions match the approved repair.
Do not transfer an instruction from one mortar to another. If project documents and product information appear inconsistent, resolve the discrepancy with the responsible parties before placement rather than improvising in the field.
Treat preparation as a deliverable
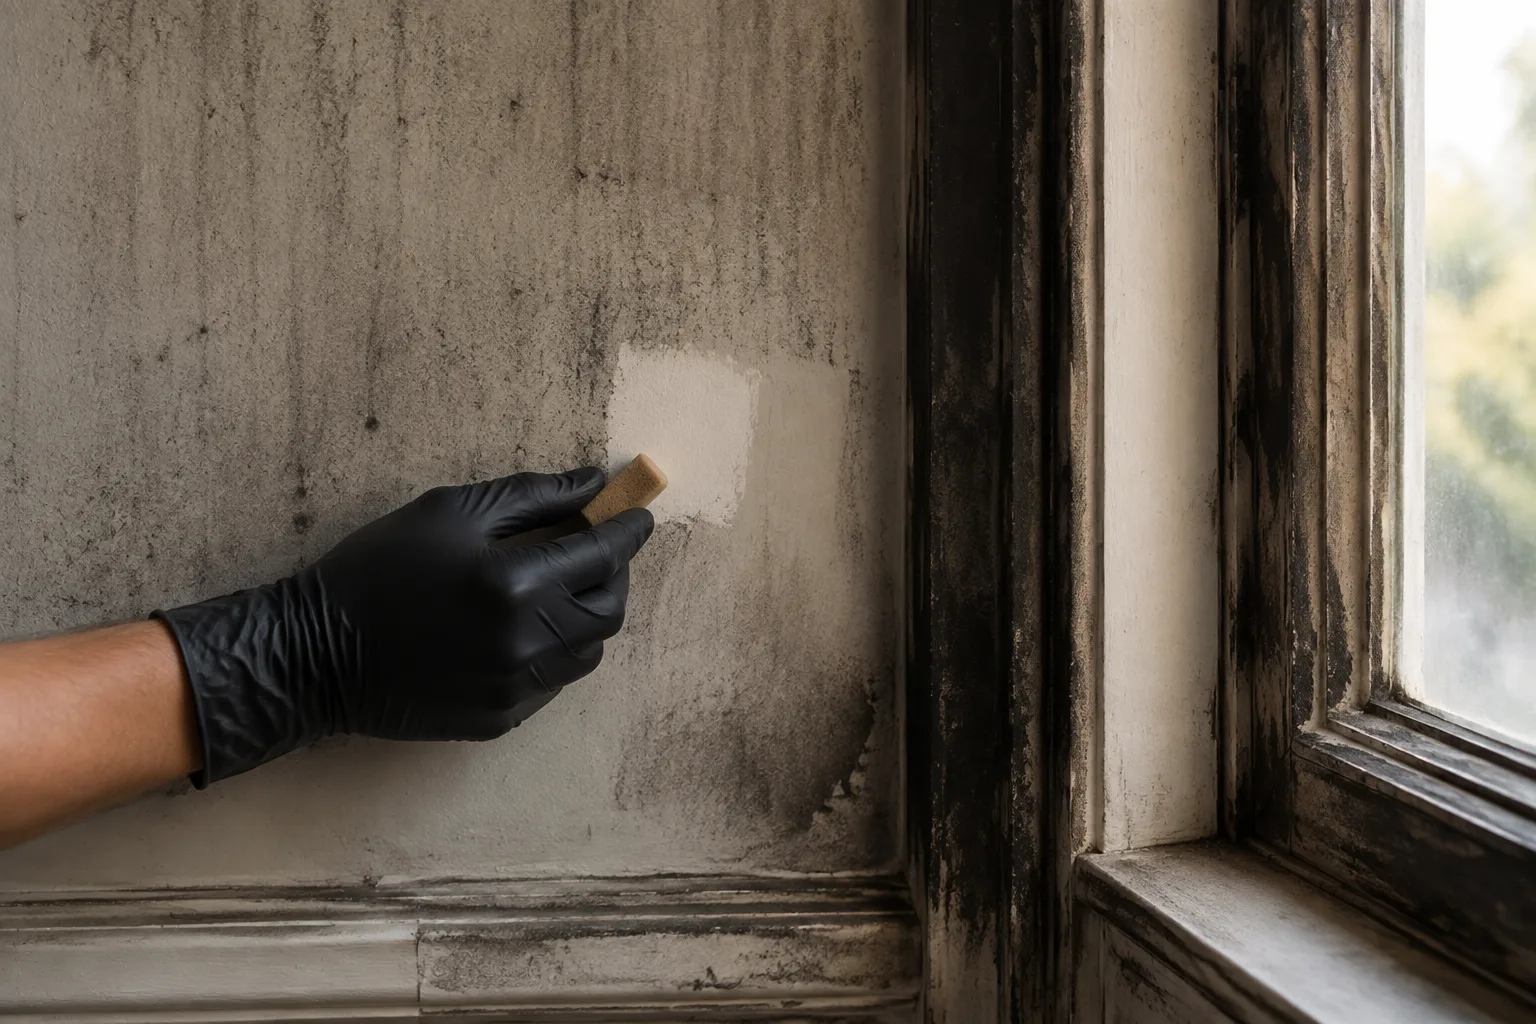
Removal and preparation should leave the surface required by the approved repair system. “Chipped out” or “pressure washed” reports an activity, not the accepted condition.
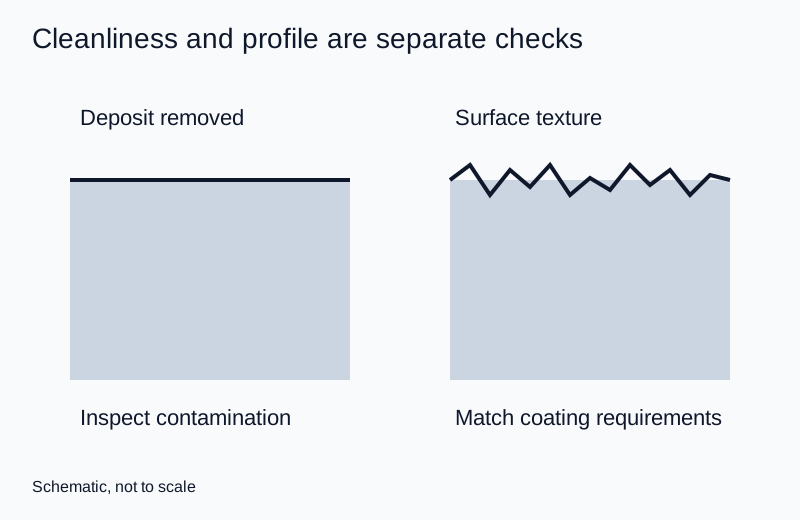
Agree on inspection of the repair geometry, retained substrate, exposed reinforcement where applicable, cleanliness and any specified profile or moisture condition. Our surface preparation methods guide explains why cleaning, removal and profiling are different tasks.
The ICRI technical-publication library includes guidance on evaluation, preparation and material application. Obtain the appropriate project references rather than treating a single profile photograph or a roughness label as a complete specification.
Plan exposure controls before removal
Concrete preparation can generate hazardous dust. OSHA’s silica overview identifies concrete cutting, drilling and related activities as potential sources of respirable crystalline silica exposure. The employer must determine applicable exposure controls, respiratory protection and other requirements for the actual operation.
The work plan also needs to address access, falling debris, noise, slurry or waste recovery and adjacent operations as applicable. Put those responsibilities into the site-management plan before the work area becomes a conflict between trades.
Use a pre-placement inspection hold point
A hold point is an agreed pause for inspection before subsequent work conceals the condition. Define who releases it, what evidence they need and what happens if the condition differs from the approved detail.
ICRI’s free technical resources include a pre-placement inspection checklist. Use the professional checklist with the project specification to establish the pre-placement release.
Before placement, confirm that the required review covers:
- The repair identifier, approved detail and any changed boundaries.
- Completion of specified removal and substrate preparation.
- Required assessment and treatment of exposed reinforcement.
- Material identity, storage condition and applicable product documentation.
- Access, forms or other arrangements required by the approved method.
- Placement, protection, curing and inspection responsibilities.
Do not turn an inspection signature into a blanket approval of matters outside the reviewer’s role. Record unresolved items and the precise area released.
Placement and curing records should explain what happened
For each repair area, retain the material and batch information requested by the specification, the installation date, relevant conditions and the required inspection records. The purpose is traceability, not paperwork volume.
If work falls outside the permitted conditions, document the deviation and obtain a disposition from the responsible party. Do not erase the uncertainty by recording only the final appearance.
Curing, return to service and readiness for coating can be different milestones. The approved system should establish each requirement. Avoid a universal waiting period based solely on a bag label or the fact that the patch feels hard.
Ask who protects the area from premature traffic or subsequent work. A repair can be complete from the placing crew’s perspective while still needing protection and verification before the next operation.
What should final acceptance include?
Match evidence to the specified objective. A visual review may address finish, but it cannot independently establish every bond, durability or structural requirement.
| Record | Purpose |
|---|---|
| Updated repair map | Shows completed locations and confirmed scope |
| Inspection and test results | Supports the particular acceptance requirements checked |
| Material and installation records | Links the repair to the approved system and execution |
| Deviations and approved changes | Explains departures and their disposition |
| Release conditions | States permitted next activities and remaining restrictions |
| Maintenance and follow-up plan | Assigns checks relevant to the original problem |
Tests should be specified and interpreted by qualified people. Ask what each proposed test establishes, where it will be performed and how an unacceptable result will be handled. A test name without criteria is not a useful acceptance plan.
Compare estimates on the same basis
Request separate assumptions for access, investigation, removal quantity, repair depth or geometry, reinforcement work, materials, protection, disposal and verification. Clarify how quantities will be measured when actual conditions become visible.
An initial survey may support an allowance rather than a firm total. That can be reasonable if the change process is explicit. Ask who verifies additional quantities and who authorizes the associated work.
Compare the cost of the complete accepted repair, including preparation and curing arrangements. A lower unit rate that excludes difficult access or inspection can be misleading.
Frequently asked questions
Is concrete restoration the same as resurfacing?
No. Resurfacing is one possible surface treatment. Restoration may also require investigation, local repair, structural design or changes addressing the cause of deterioration.
Can every crack be repaired with epoxy?
Do not assume so. The repair objective, movement, moisture, condition and structural role require assessment. Product choice follows that assessment rather than replacing it.
Does stronger repair mortar always last longer?
Not automatically. Suitability depends on the complete repair system and execution. Ask for compatibility and application evidence rather than comparing a single strength value.
Can the repair be judged from before-and-after photographs?
Photographs document visible change and location. They should supplement the specified inspections and records, not replace evidence of concealed preparation or technical acceptance.
What should happen if damage extends beyond the estimate?
Stop the affected portion at the agreed decision point, record the finding and obtain the required assessment and authorization. Do not expand removal without considering the design and safety implications.
Explore the related topic and technical references.